R&W

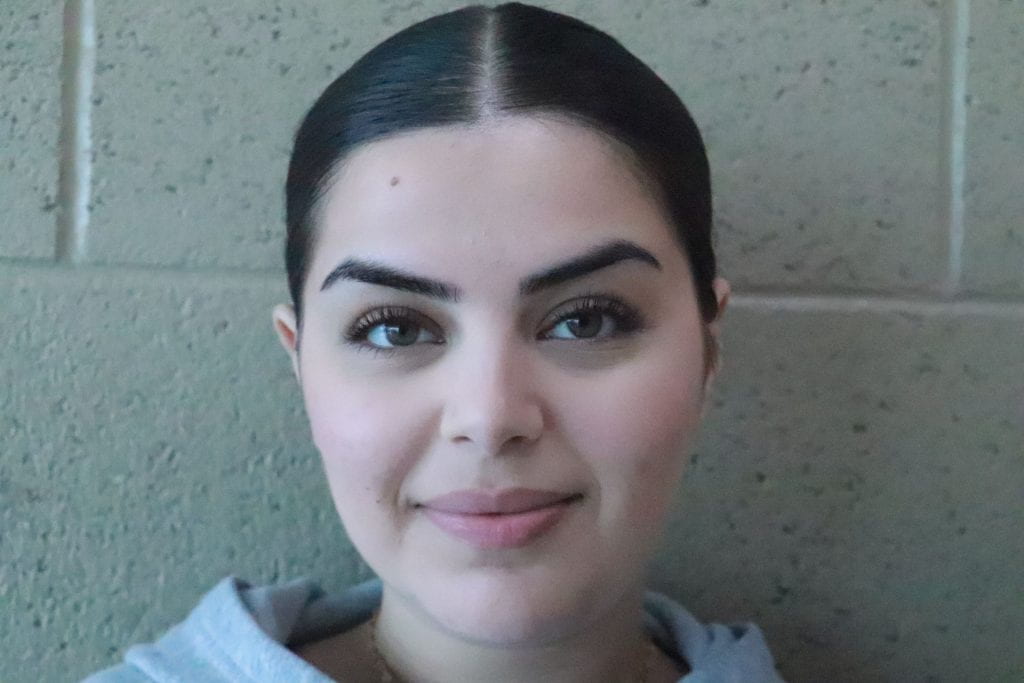
1. Three Main Parts of Studio Lighting Studio lighting includes light sources (the actual lights), modifiers (tools that change how the light looks), and supports (stands that hold the equipment).

2. Types of Lights There are continuous lights, which stay on all the time, and strobe lights, which flash quickly when taking a photo. Strobes are more powerful and give better control.

3. Light Modifiers Tools like soft boxes, umbrellas, and reflectors help shape the light. They can make the light softer, reduce harsh shadows, or direct it to a specific spot.

4. Light Stands and Supports Lights need to be placed at the right height and angle. Stands and clamps hold the lights in place and keep them steady.

5. Three-Point Lighting Setup A common way to light a subject uses three lights: a main light, a second light to soften shadows, and a backlight to separate the subject from the background.

6. Key Light The main light is the brightest and most important. It shines on the subject and sets the overall brightness and mood.

7. Fill Light The fill light is placed on the opposite side of the key light. It softens shadows so they’re not too dark.                                                                                                                                                                                                                                                                                                                 8. Backlight (Hair Light) This light is placed behind the subject to create a glow around them. It makes them stand out from the background.

9. Bright vs. Dark Lighting Styles, High key lighting is bright and even, used for happy or clean looks. Low key lighting is darker with strong shadows, used for dramatic or moody photos.

10. Butterfly Lighting, this setup places the light right above and in front of the subject, creating a small shadow under the nose that looks like a butterfly.

Studio portraits

Studio Work by Julia Kuzmenko McKim | Studio photography lighting, Studio photography fashion ...

The photographer makes the subject look elegant and confident. Her pose, with her shoulder turned and her eyes looking away, adds a sense of mystery. The lighting highlights her face and shoulders, making her features stand out. The soft but dramatic light, along with the hints of purple and pink, gives the photo an artistic and stylish feel. Overall, she looks strong, beautiful, and graceful.


Pop Art

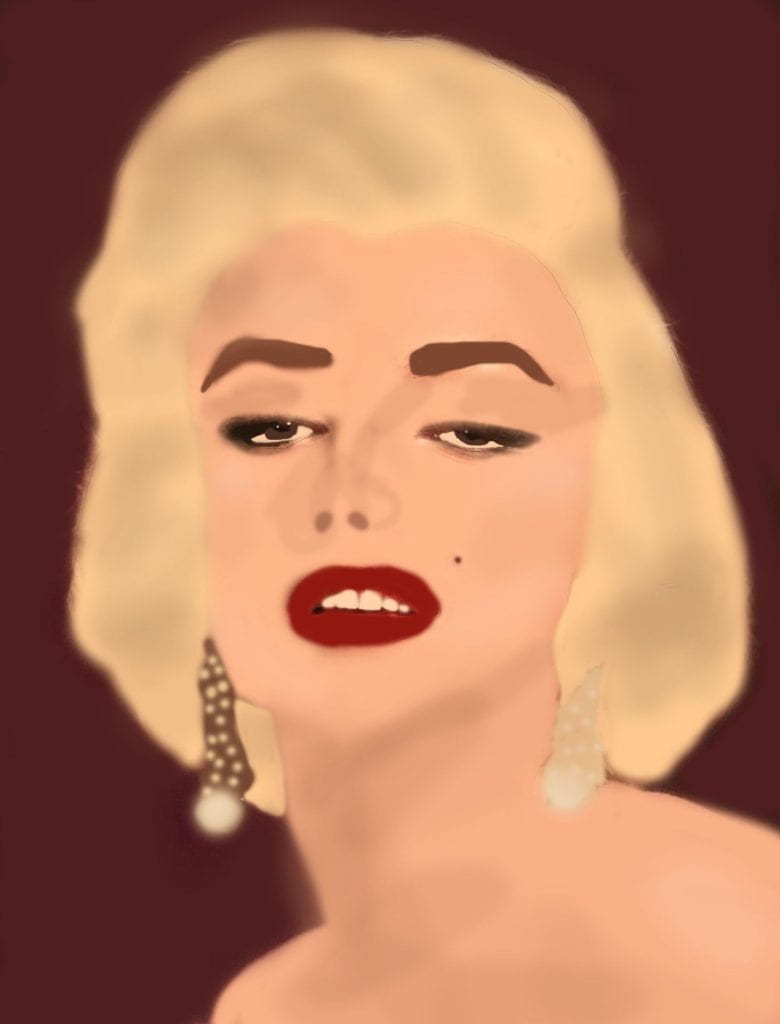
Critique: Pop art is a type of art that pops with vibrant colors, when the subject is the opposite color of the background. Andy Warhol’s work is considered Pop Art because he used images from popular culture, like celebrities and products, with bright colors and repetition. Andy Warhol is key in Pop Art for turning everyday items and celebrities into art. His bright colors and unique style make his work visually striking and thought-provoking.

AI in photography

AI has totally changed how we take and edit photos. Now, with AI-powered cameras and smartphones, you don’t have to worry about getting all the settings right. The camera can automatically adjust things like focus, exposure, and color balance to make sure your photos look amazing. It can even recognize what you’re taking a picture of, like a sunset or a portrait, and tweak the settings for the best shot. This makes it so much easier for anyone to take great photos without needing to know all the technical stuff.

Editing photos has also become super easy with AI. Programs like Photoshop now have AI tools that can do complicated edits in just a few clicks. You can remove unwanted objects, enhance colors, and even fix old or damaged photos really quickly. Plus, AI can learn different artistic styles from tons of images and let you apply them to your own photos. It’s pretty cool because it saves a lot of time and lets you get really creative with your pictures. As AI keeps getting better, it’s going to bring even more awesome tools and features to photography.

Jpeg vs Raw

1. Main Differences Between RAW and JPEG:
– RAW: These files are uncompressed and contain all the data captured by the camera’s sensor, which allows for more detailed editing. They are not immediately viewable and need special software to process.
– JPEG: These files are compressed and processed in-camera, which means they are smaller and ready to use right away. However, this compression results in some loss of data and quality.

2. Which File is Bigger?
– RAW files are significantly bigger than JPEG files because they contain all the unprocessed data from the camera’s sensor.

3. Changing a RAW File to a JPEG:
– Yes, you can convert a RAW file to a JPEG once your photos are on the computer. You can do this using photo editing software like Adobe Lightroom, Photoshop, or even some free software like GIMP. Simply open the RAW file in the software, make any adjustments you want, and then save or export the file as a JPEG.

4. Shooting an Important Event:
– If I were shooting an important event, I would shoot in RAW. This is because RAW files provide the most flexibility for post-processing, allowing you to correct any mistakes in exposure, white balance, or other settings. The higher quality and detail in RAW files ensure that you have the best possible images to work with, which is crucial for important events.